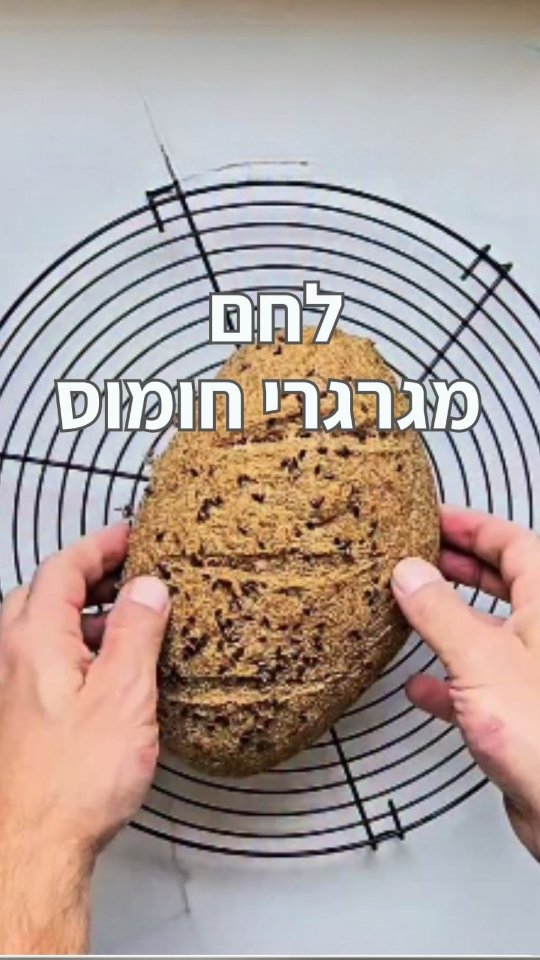
This wholesome, satisfying chickpea bread is easy to make—no kneading, rising, or wheat flour required.
Ingredients
- 180–200 g (about 1 cup) dried chickpeas, soaked overnight
- 80 ml (1/3 cup) water
- About 20 g (1/4 cup) psyllium husk
- 1/3 cup chickpea flour
- 1 tablespoon olive oil
- 1/2 tablespoon vinegar (or lemon juice)
- 1/2 teaspoon baking soda
- 1/2 teaspoon salt
- Optional toppings: sesame seeds, sunflower seeds, nigella seeds
Instructions
- Place the dried chickpeas in a large bowl with plenty of water and soak overnight (at least 12 hours). Rinse and drain well.
- Preheat the oven to 180°C (350°F) and line a baking sheet with parchment paper.
- Add the soaked chickpeas, water, vinegar, and salt to a food processor and blend into a smooth puree.
- Add the psyllium husk, chickpea flour, olive oil, and baking soda. Process until the mixture forms a sticky dough.
- With wet hands, transfer the dough to the prepared baking sheet and shape it into a loaf. If you'd like, score the top and sprinkle with toppings.
- Bake for about 50 to 60 minutes, until the bread is browned and firm to the touch.
- Remove from the oven and let the bread cool completely before slicing.
Tips
Use soaked chickpeas, not cooked ones. And don't rush that first slice: the bread needs to cool completely, or it'll be gummy inside.